
Ubuntu is one of the most popular Linux distributions (open source operating system), widely used for servers, desktops, and cloud environments. Installing it is straight forward, but knowing the right options during setup ensures a smooth experience.
It can be installed directly on the compatible laptop/desktop or even on any Virtual machine.
We already created a VM and selected the Ubuntu Server ISO during VM creation. If not, you can click Edit VM Settings and select the ISO under the CD/DVD device option.
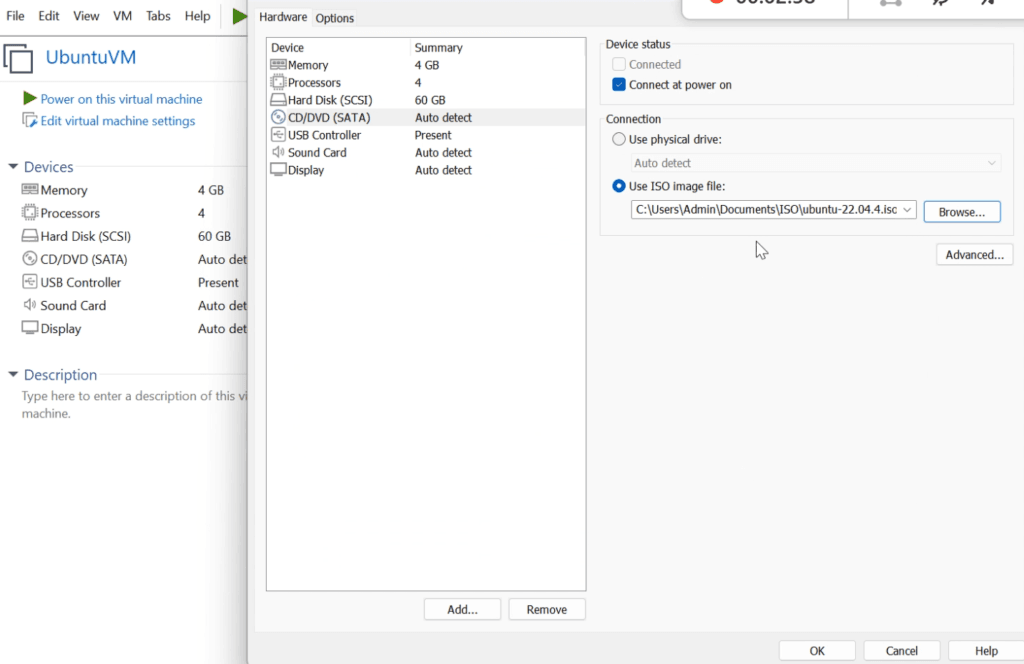
If the ISO is not available, you can download it directly from the Ubuntu website (Server) or For GUI Ubuntu Desktop.
We’re now ready to install the Ubuntu Server. If you’d like to watch a step‑by‑step walkthrough of these steps, please visit our YouTube Video.
Steps:-
- Start the above created VM.
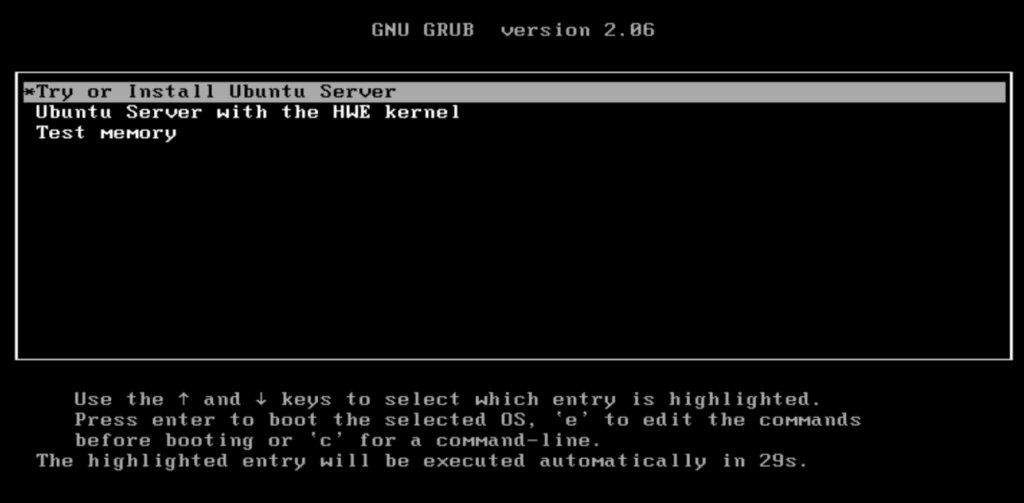
- Once VM started, the VM will boot from the chosen ISO image and automatically launch the Ubuntu installation wizard

- Select “Try or Install Ubuntu Server.” Use arrow/TAB keys to navigate and Press Enter.
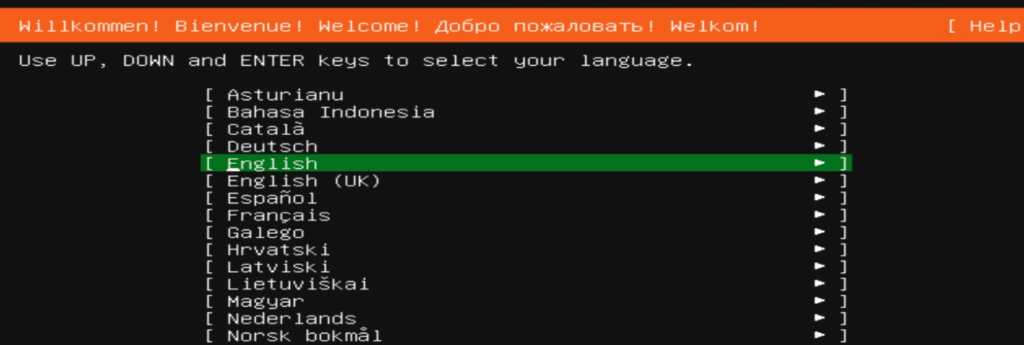
Once the setup begins, you’ll be prompted to configure several required details and settings.
Steps:-
- Select the Language. Use arrow/TAB keys to navigate and press Enter for next step.

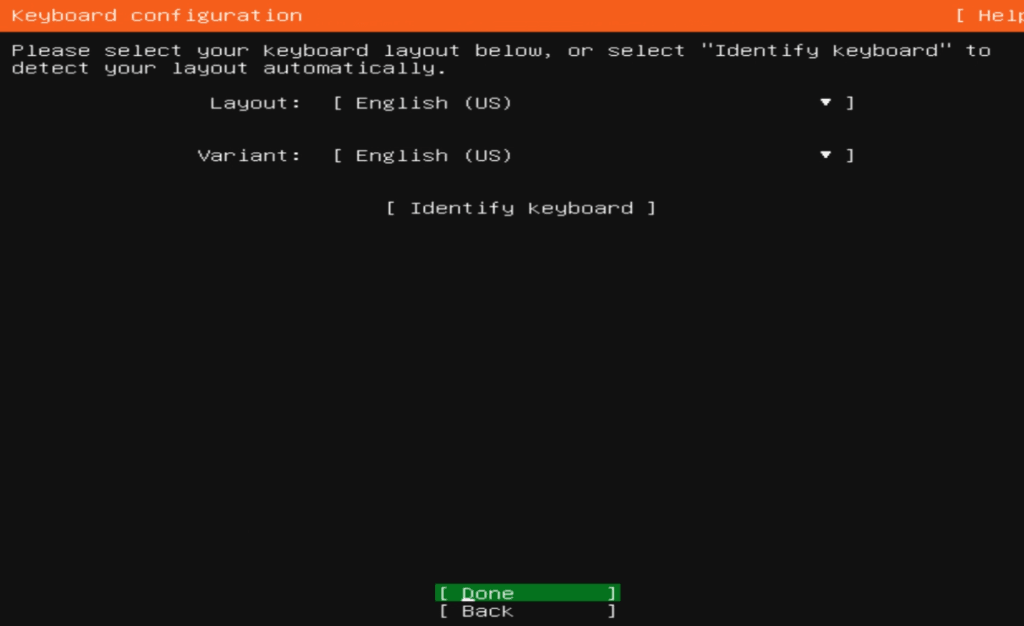
- Select the Keyboard Layout if required or keep default. Use arrow/TAB keys to navigate to Done and press Enter.

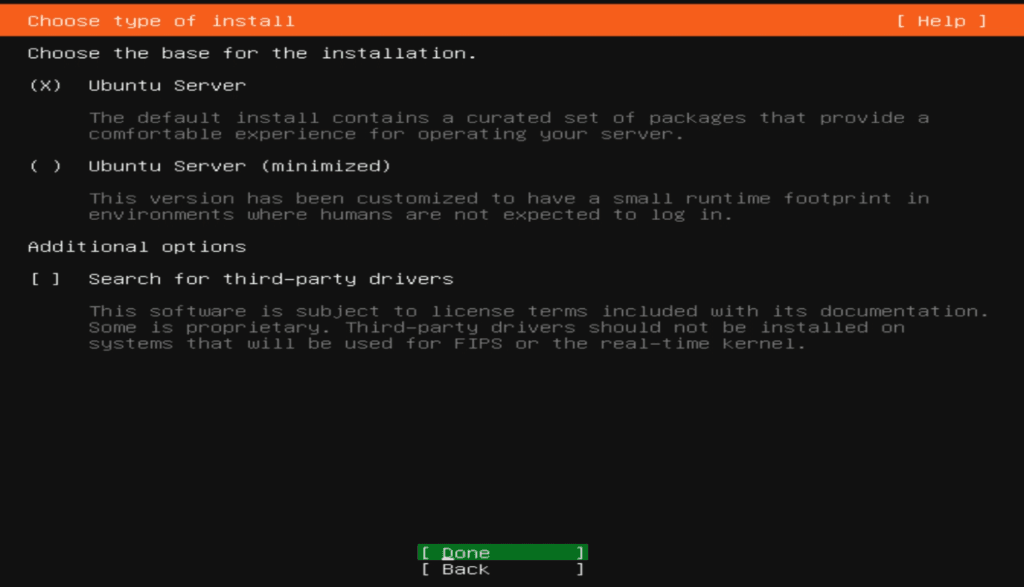
- Select the option “Ubuntu Server.” Use arrow/TAB keys to navigate. Select Done and press Enter.

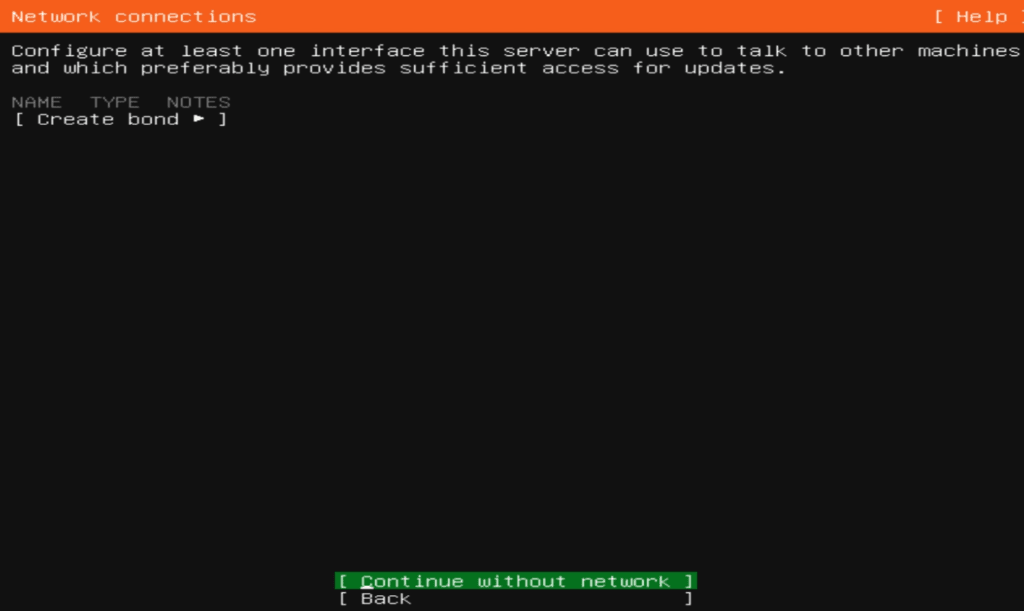
- Select “Continue without Network” and press Enter. We’ll configure Network later in our next post.

- Keep default setting and press Enter on next steps.
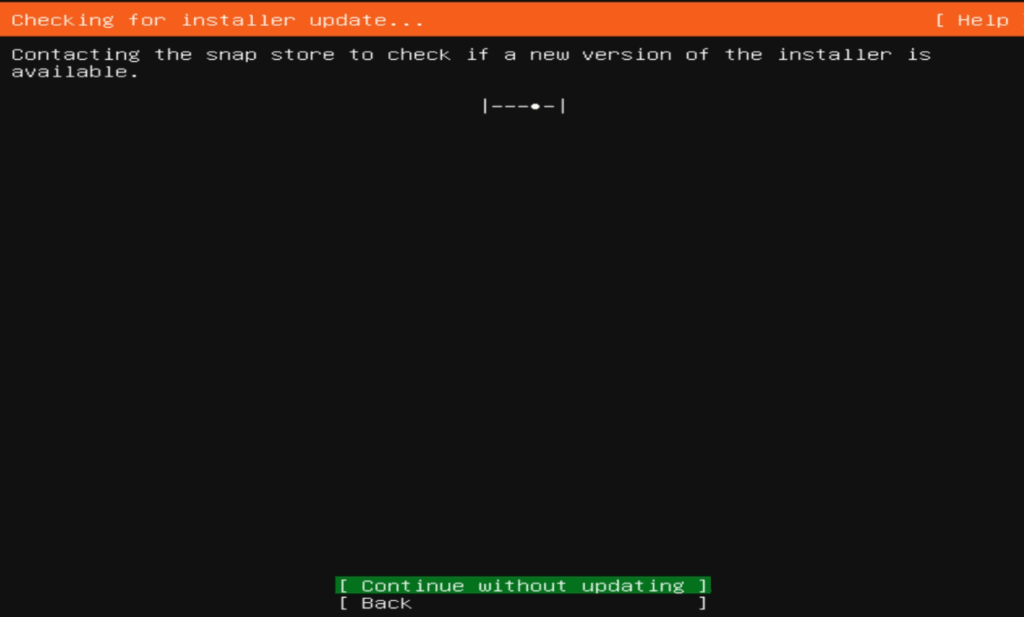
- Select “Continue without Updating” and press Enter. Packages can be updated later after installation.

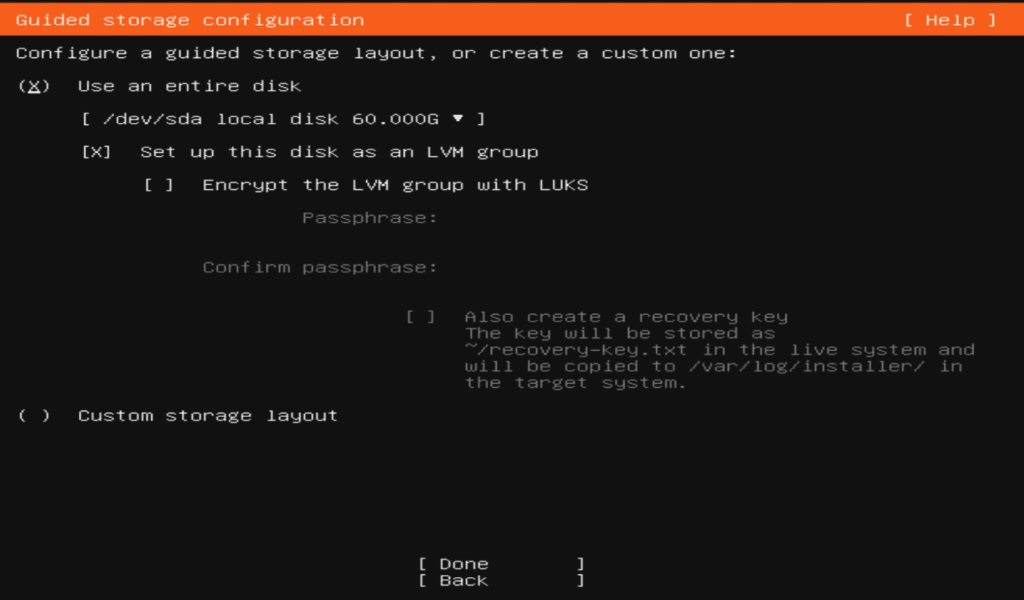
- At the storage layout step, select “Use an entire disk“, then navigate to Done using the arrow/TAB keys and press Enter.

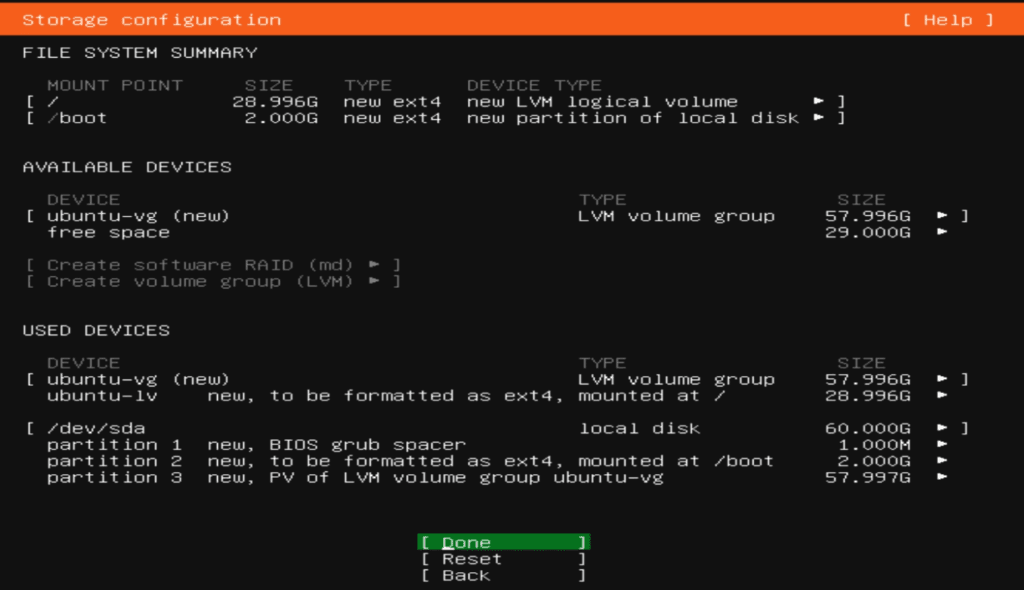
- At the File System Summary step, either accept the default configuration (proceed to Step 12) or adjust the Logical Volume Manager (LVM) settings such as size and format.

- If you need to edit a Logical Volume, select the LV in the Used Devices list with the TAB key, press Enter to view options, select Edit, and press Enter again to edit LV.

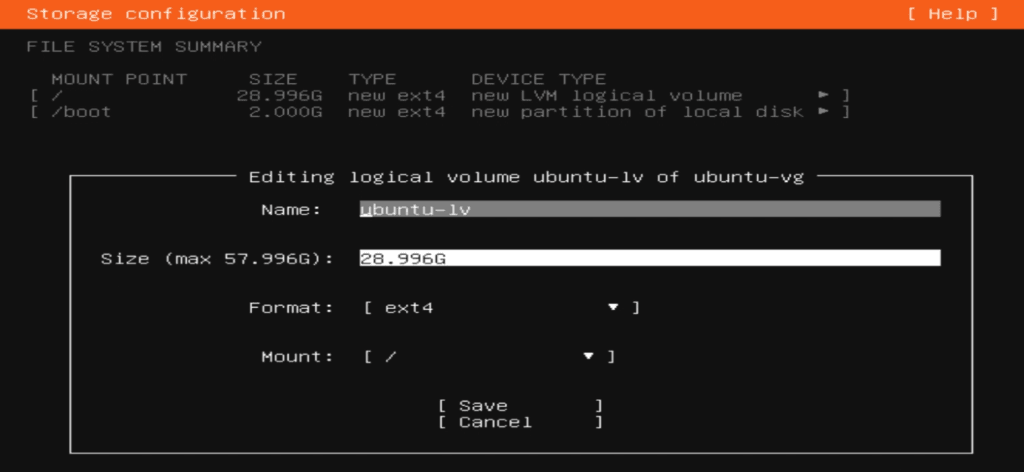
- At the Logical Volume editing step, adjust settings like size or format as needed. Navigate using the arrow/TAB keys, then select Save and press Enter to confirm.

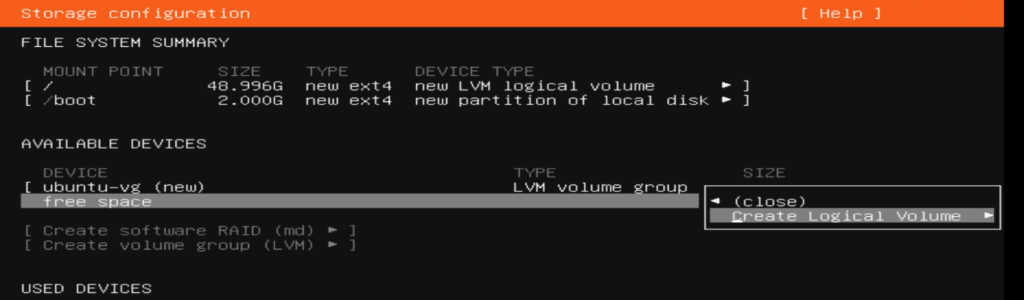
- If you want to create a new Logical Volume, select Free Space and press Enter to open options. Select Create Logical Volume, press Enter, then define the size, format, and LV name. Finally, move to Create and press Enter to confirm.

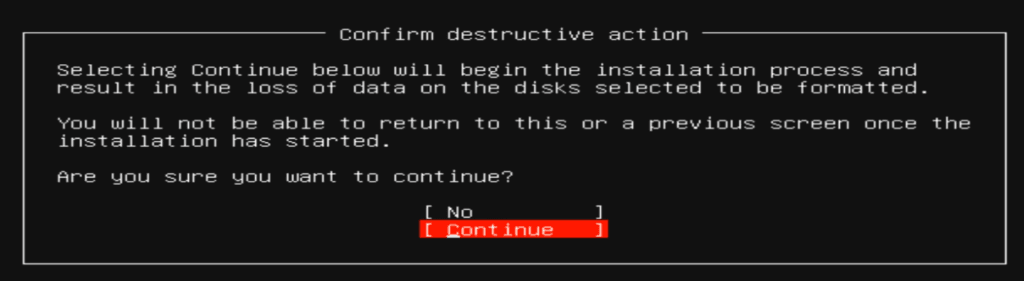
- At the Storage Configuration step, move to Done using the arrow/TAB keys and press Enter.
- Choose Continue and press Enter to confirm disk erase and formatting for installation.

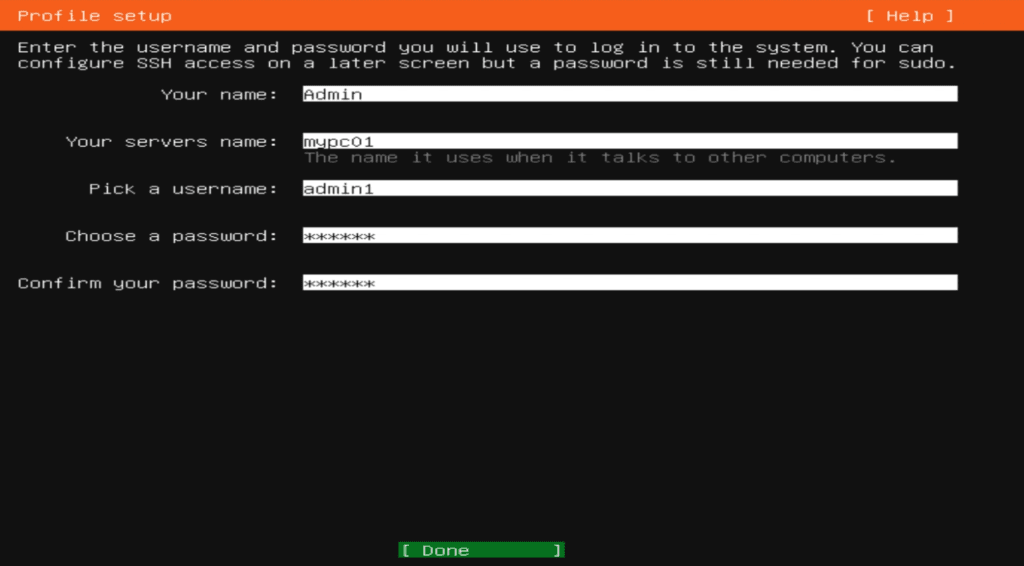
- At Profile Setup step, Enter your name, computer name, username, and password. These credentials will be used for your first login. Use the arrow/TAB keys to navigate, select Done and press Enter.

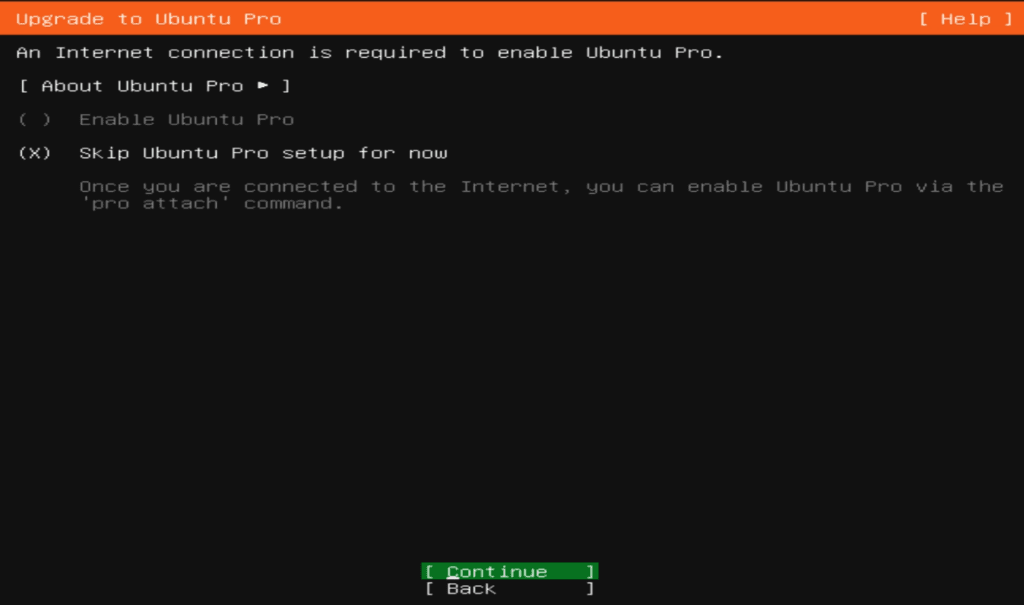
- Choose “Skip Ubuntu Pro setup for now” and Continue. We can enable Ubuntu Pro later.

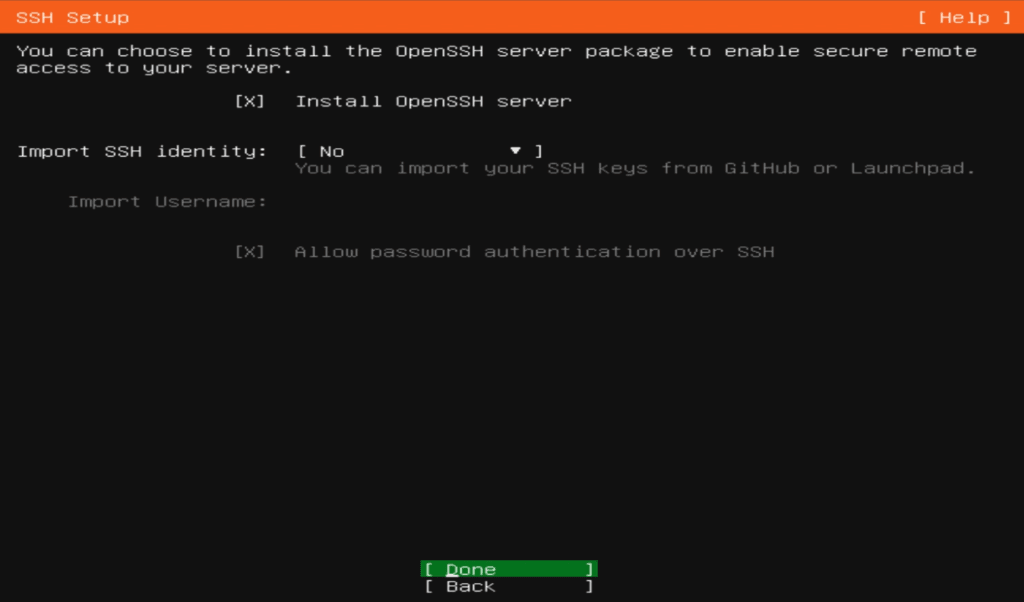
- Select “Install OpenSSH server” for remote access, navigate to Done and press Enter.

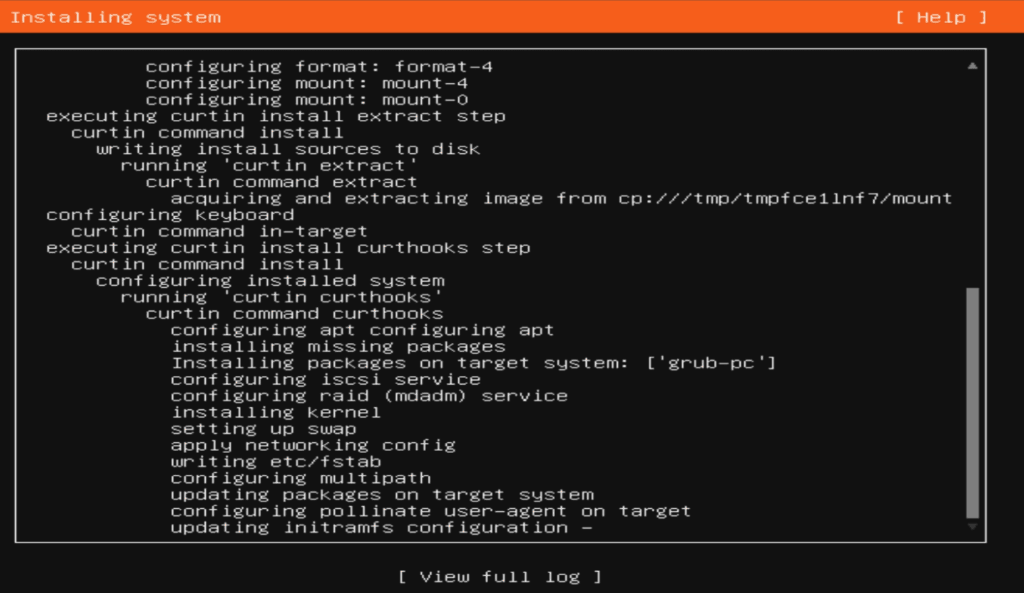
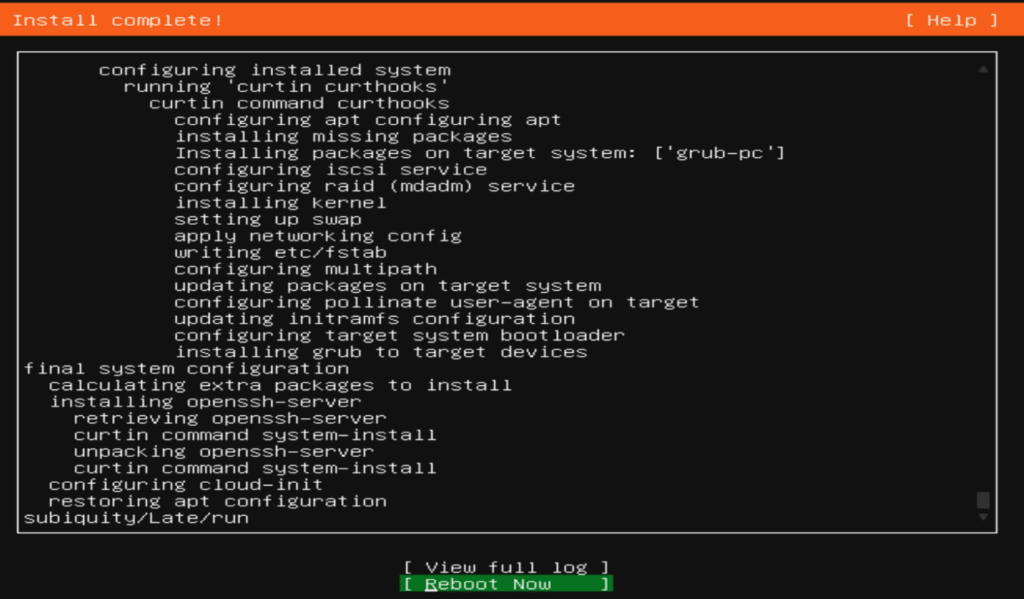
- At this stage, the installation process starts. It typically finishes in just a few minutes.

- Once completed, reboot the system and remove/disconnect the installation media/ISO.

- Select the Language. Use arrow/TAB keys to navigate and press Enter for next step.

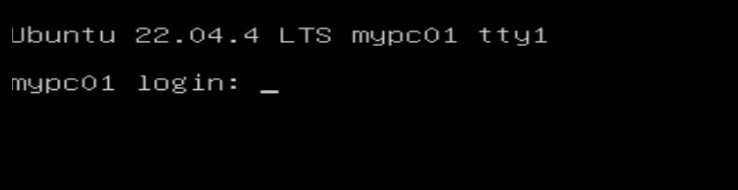
After the reboot, the system will display the login prompt. Enter the username and password you created during Profile Setup (Step-14).
- Enter the Username and Password and press Enter. Note: Password characters will not be visible while typing.

- Now we can update packages or test basic commands to verify installation like date/ls/mkdir/vim/cd/rm/rmdir etc.

- Enter the Username and Password and press Enter. Note: Password characters will not be visible while typing.
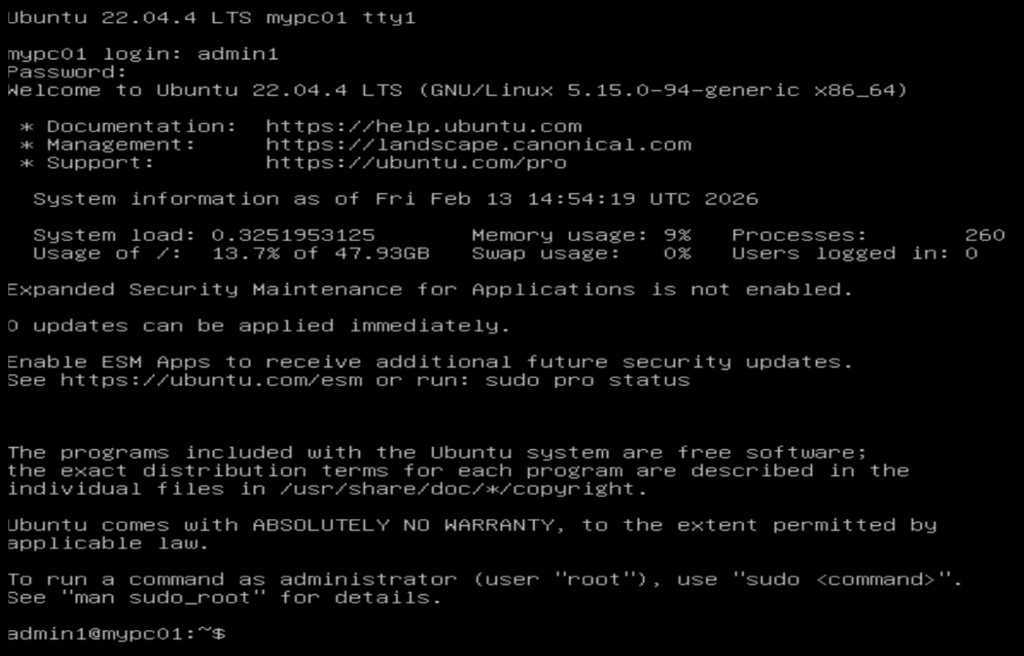
Your base Ubuntu Server VM is now ready for lab practice.
Pro Tip: Use VMware’s Snapshot feature after a clean installation. Snapshots allow you to roll back easily if something breaks during experimentation.

