
You can create a single VM or a virtual test lab for practice using VMware Workstation. The Pro version is available for free on the Broadcom website. You can download it here by signing in or creating an account.
- Download the VMware Workstation setup
- Run the setup and follow the installation wizard.
- Restart your system if prompted.
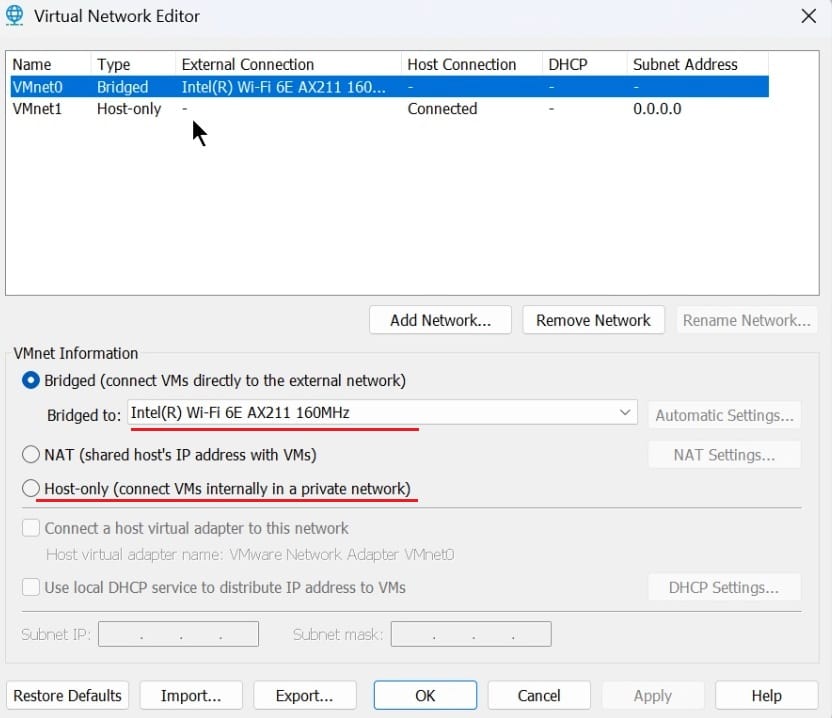
- Open VMware Workstation – Edit menu – Virtual Network Editor and do the Network settings as per requirement.
- Use Bridged to connect VM to system’s physical network adapter directly or allow internet traffic.
- Or use Host-only to connect VMs and Host system internally in private network.

We’re now ready to create a VM for Windows 11 installation. If you’d like to watch a step‑by‑step walkthrough of these steps, please visit our YouTube Video.
On VMware Workstation, you can create virtual machines for a wide range of operating systems, including Windows, Linux/Ubuntu, macOS, and even VMware ESXi. In this guide, we’ll focus on creating a VM for Windows 11.
Steps:-
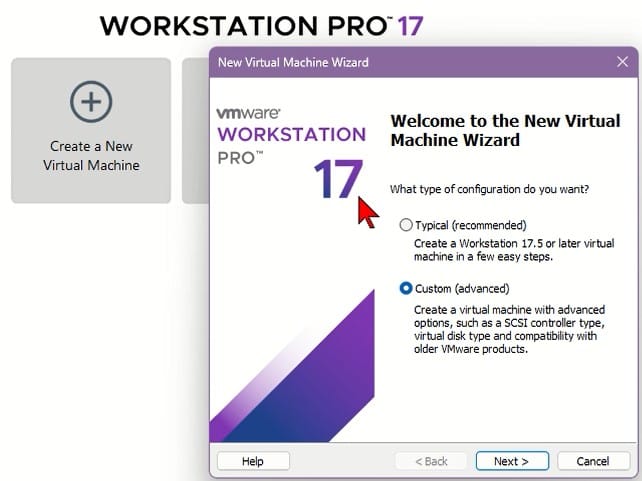
- Open VMware Workstation → Click Create a New Virtual Machine.

- Choose Typical (recommended) or Custom (for advanced configuration).
- Select Installer disc image (ISO) → Browse and select the Windows 11 ISO (Or you can select later in VM settings).
- Put the Virtual Machine Name. (this is not computer name/hostname).
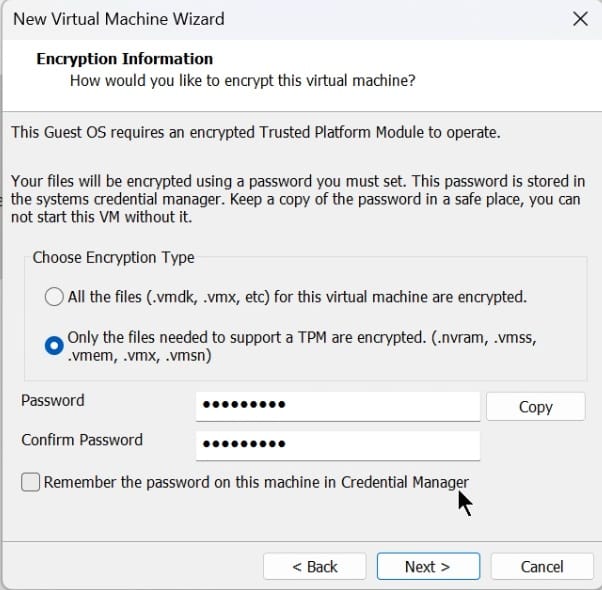
- As we selected Win 11 ISO, it will ask you to create a VM file encryption password, which functions as the TPM. Enter the password, confirm it. Keep it remember as it will require during VM startup.

- Configure hardware:
- Memory: 4-8 GB
- Processors: 2–8 cores
- Disk Size: 70–100 GB (single file recommended)
- Network Adapter: Use Bridge or Host-only as per requirement.
- Review settings → Click Finish.

- Open VMware Workstation → Click Create a New Virtual Machine.
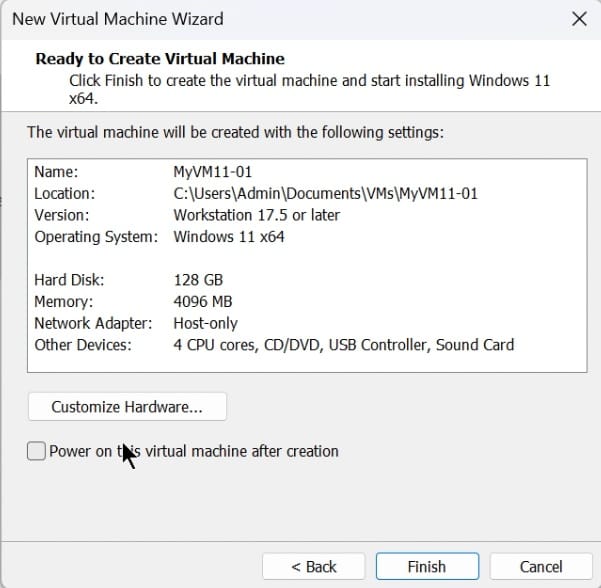
The VM will be created with the specified configuration. If exiting VM or need to change anything, you can Edit Virtual Machine settings and do the required changes like select ISO, add Network adapter, change CPU or memory config, configure TPM with encryption password and more.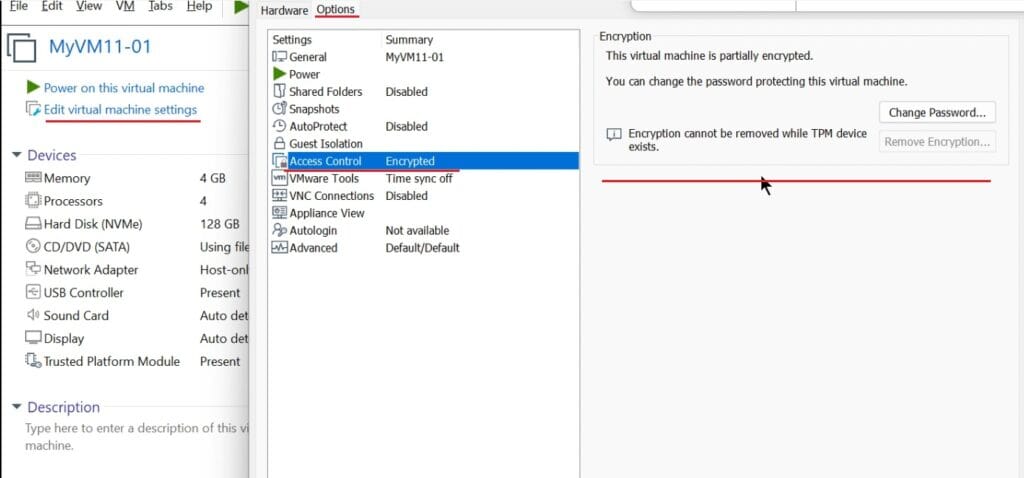
We already selected the Windows 11 ISO during VM creation. If not, you can click Edit VM Settings and select the ISO under the CD/DVD device option. If the ISO is not available, you can download it directly from the Microsoft website.
- Start the above created VM.
- The VM will boot from the ISO we selected and begin installation.
- Select the Language to install and Time and currency format when prompted, then Next.

- Select Keyboard or Input method, then Next.
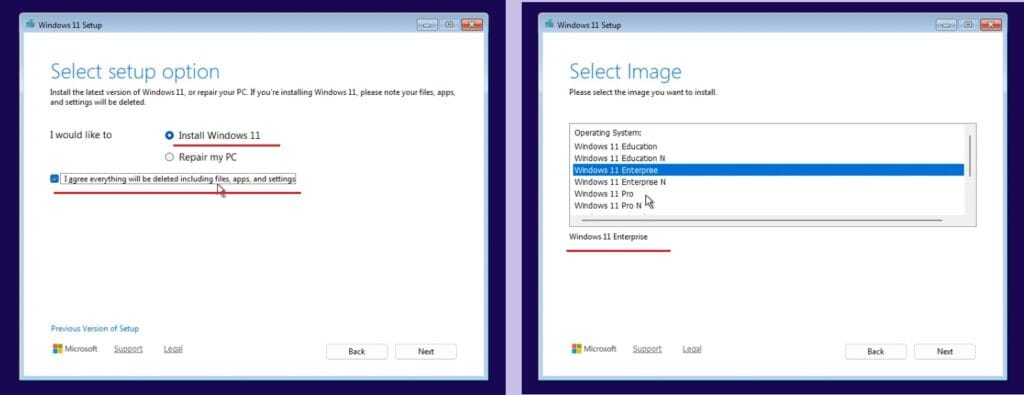
- Select “Install Windows 11” and check box I agree everything will be deleted…, then Next.

- Select the Windows Edition, then Next, and Accept the license terms.
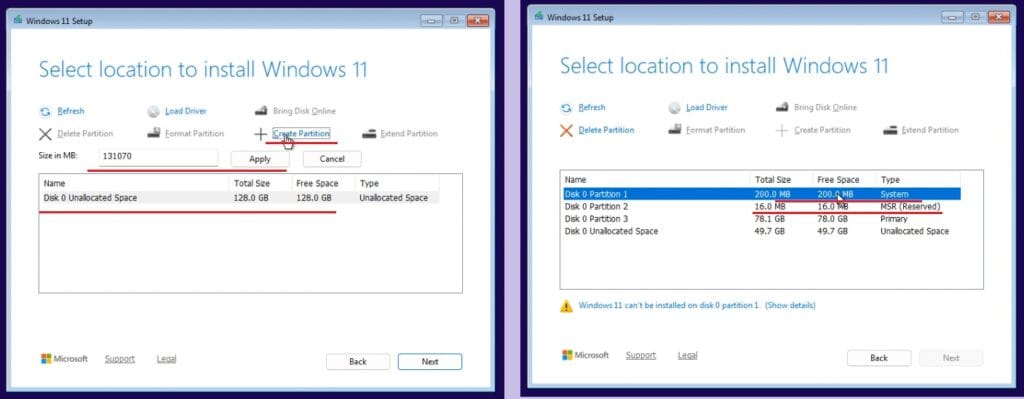
- On Select location to install windows 11 prompt-
- Select Unallocated space and click Next, if you want a single partition or drive.
- If you want more than one partition or drive, Select unallocated space and click Create Partition – Put required size in MB – Apply. The partition will be created. By this way you can create more partitions on unallocated space.
- The Windows 11 will create by default two additional partition – 200 MB for system and 16 MB for MSR (Microsoft Reserved Partition).
- Select the Partition if created or Unallocated Space, then Next.

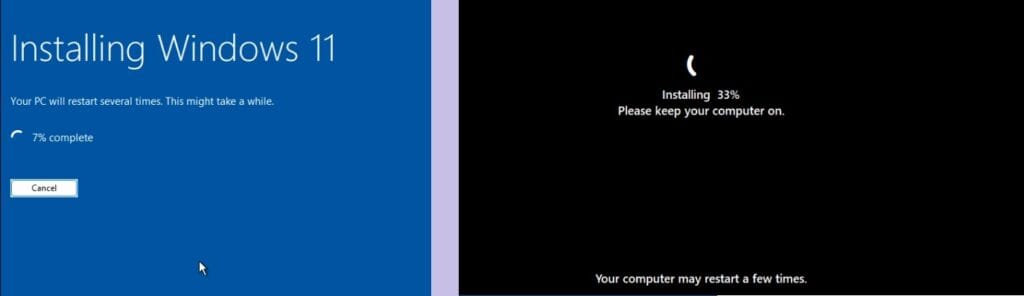
- Click Install on Ready to install prompt.
- The windows 11 installation will proceed, and system will reboot 2-3 times.

- When Prompted, Select Country or region, Keyboard layout, Add or skip second Keyboard layout.
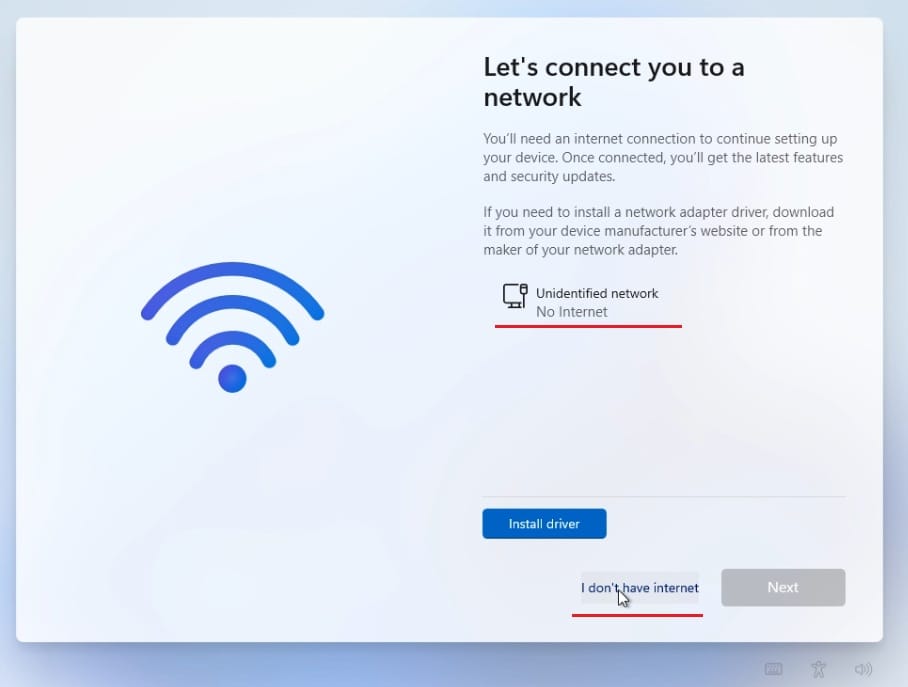
- As we connected VM with Host-only (private network), not connected to internet. Click I don’t have internet, or you can connect to internet via bridged if required. If internet is connected, you will be prompted to login/setup your Microsoft account.

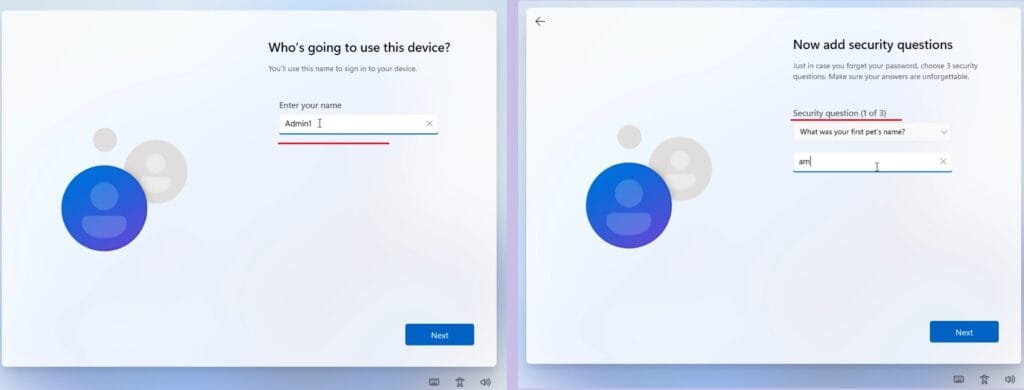
- Put your username and password/confirm password for login account.
- Windows 11 will ask for 3 security questions that will be helpful if you lost/forgot login credentials, select questions and answers as per your choice.

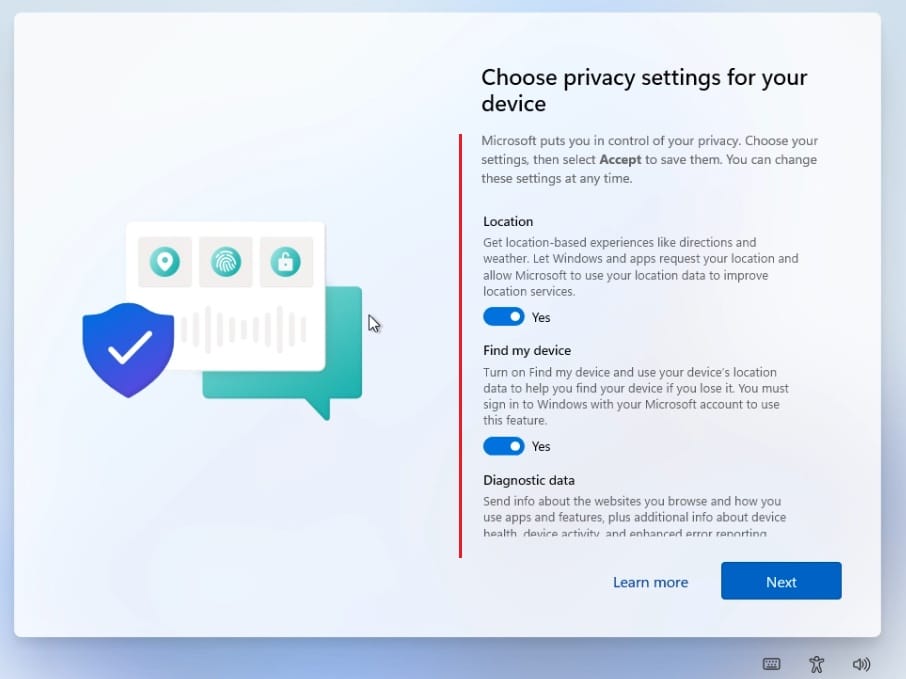
- Choose Privacy settings for your device like Location, Find my device, Diagnostic data, Advertising ID… as per your choice.

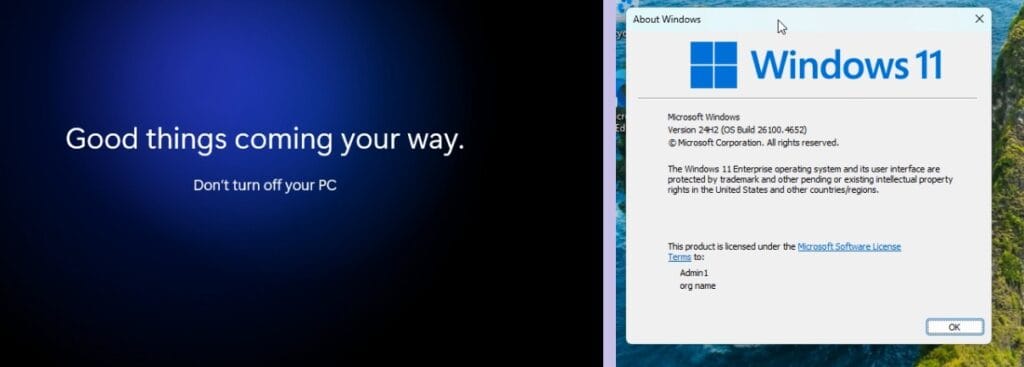
- Once installation Setup is completed, log in with the credentials you setup.


VMware Tools is a lightweight utility that enhances performance and improves integration between the host and guest operating systems in VMware virtual machines.
Benefits include:
- Better display resolution
- Clipboard sharing (copy/paste between host and VM)
- Improved network and disk performance
Steps:-
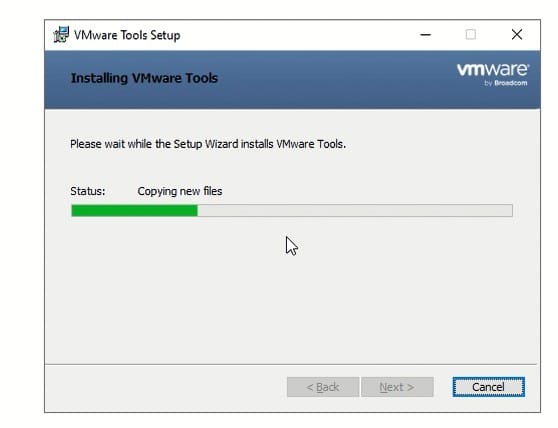
- The installation begin automatically after login, If not go to VM Menu→ Install VMware Tools.
- The VMware tools setup will be mounted as CD/DVD drive, Run the setup from there.

- Follow the wizard and restart the VM when prompt.
Network Config:
- If connected to internet or using bridged network, no additional config required.
- If using host-only network, set the IPv4 address by opening network setting – ncpa.cpl
- If there is any connectivity issue, you may need to turn off the windows defender firewall setting or allow connection by adding inbound/outbound rule in advanced firewall configuration.
Computer Name:
- Setup the computer name or Hostname as per your choice.
- Open sysdm.cpl and change the computer name.
- Restart the system when prompted.
Pro Tip: Before making major changes, take a VM Snapshot. This allows you to roll back easily if something goes wrong.

